










Back to : pressure gauges
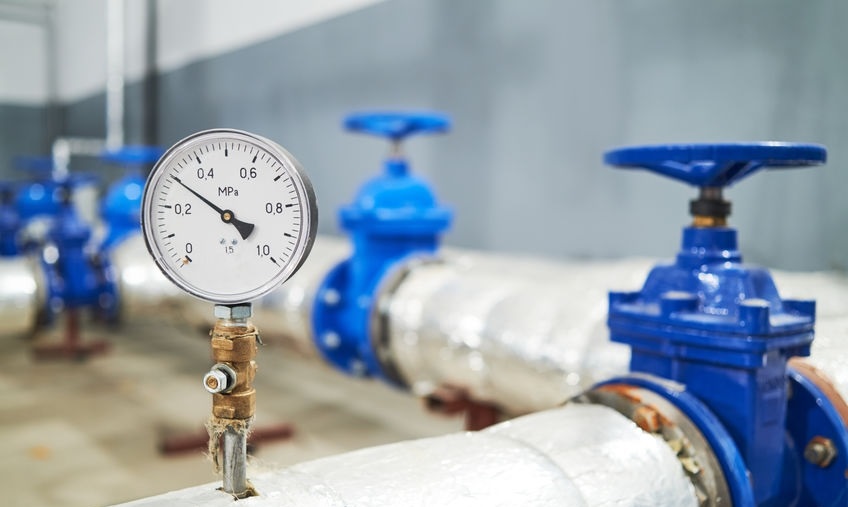
How to install a glycerin pressure gauge?
How to install a glycerin pressure gauge – step-by-step instructions
Installation of a glycerin pressure gauge requires precision and compliance with several important rules. This ensures not only a correct pressure reading but also a longer device lifespan and the operating safety of the entire system.
1. Check the compatibility of the gauge with the system
Before proceeding with the installation:
-
Make sure the gauge is appropriately selected for the pressure range in the installation (a reserve of at least 25-30% above the maximum operating pressure).
-
Check the connection diameter and thread type (e.g., G1/4", G1/2" BSP, etc.).
-
Identify whether the connection is located at the back (radial gauges) or at the bottom (axial gauges).
2. Use appropriate thread sealing
-
In the case of gauges with a tapered thread (e.g., NPT) – you can use Teflon tape.
-
In the case of cylindrical threads (e.g., BSP – G1/4”, G1/2”) – it is best to use a flat gasket (e.g., copper or aluminum), especially when the socket has a facing surface for sealing. Do not use sealing pastes with glycerin pressure gauges to avoid contaminating the mechanism through the thread.
3. Install the gauge by hand, then tighten with a wrench
-
Screw the gauge in by hand until it stops.
-
Then tighten gently with a wrench – DO NOT overtighten or use excessive force to avoid damaging the housing or mechanism.
-
Use only a flat wrench – do not grip the gauge housing!
4. Set the correct reading position
-
Before tightening fully, set the dial so that the gauge is readable at the installation site.
-
Avoid installing the gauge in an inverted position (glycerin may interfere with the pointer's operation).
5. Use a vibration separator if necessary
-
In systems where pressure pulsations or vibrations occur, additionally use:
-
a pulsation dampener (e.g., copper spiral),
-
a vibration reducer,
-
or a gauge with a dampened mechanism.
-
6. Check for leaks after installation
-
After installation, start the system and observe for leaks.
-
Check the readings – they should be stable, without "pointer flutter".
Additional operational recommendations
-
A glycerin pressure gauge should operate in the 30–70% range of the scale for best accuracy and durability.
-
Do not expose the device to direct sunlight or heat sources (leaks may occur).
-
If the glycerin becomes cloudy or starts leaking – replace the gauge.
-
In case of damage – do not attempt to repair – replace with a new one.
Order proven pressure gauges at Hydron!
In the Hydron store's offer, you will find a wide selection of glycerin pressure gauges with bottom and back connections, as well as necessary mounting accessories. We guarantee high quality and technical support at every stage of the order.
Installation rules for a glycerin pressure gauge.
Based on an ordinary pressure gauge, the shock-proof pressure gauge is filled with glycerin or silicone fluid inside, and a buffer mechanism is set to reduce the impact of strong environmental vibrations and media pulses on the instrument, making it more stable in use and providing a clear display.
1. before installation, check whether the size, specification, and accuracy of the instrument can meet your needs
2. the pressure gauge must be installed vertically, the inclination is usually below 30°, and try to maintain the same level as the measuring point so as not to cause errors affecting subsequent work. Of course, these factors do not need to be considered when measuring gases. However, the installation requires connecting the explosion-proof port, and failing to do so in a timely manner may affect explosion-proof performance.
3. After installation, in the absence of pressure, observe whether the pointer stops at the zero pin or near the plate; otherwise, it cannot be used.
A professional factory produces a professional pressure gauge!
How to install an oil-filled pressure gauge
On the basis of the ordinary pressure gauge, the shock-proof pressure gauge is filled with glycerine or silicone fluid inside, and the buffer mechanism is set to reduce the impact of severe environmental vibration and media pulse on the instrument, so that it is more stable in use and the display is clear.
1. Before the installation, check whether the size, specification, accuracy of the instrument can meet your needs
2. Must be installed vertically, the inclination is generally below 30°, and strive to maintain the same level with the measuring point, so as not to cause error, affect the next work. Of course, these factors don't need to be taken into account when measuring gases. However, the installation need to plug the explosion-proof port, not timely plugging may affect the explosion-proof performance.
3. After installation, in the absence of pressure, observe whether the pointer stops the nail in the zero position or near the plate, otherwise it cannot be used.
Professional factory produce professional pressure gauge !