










back to : manual crimpers
User manual SAMWAY P18HP mobile crimper
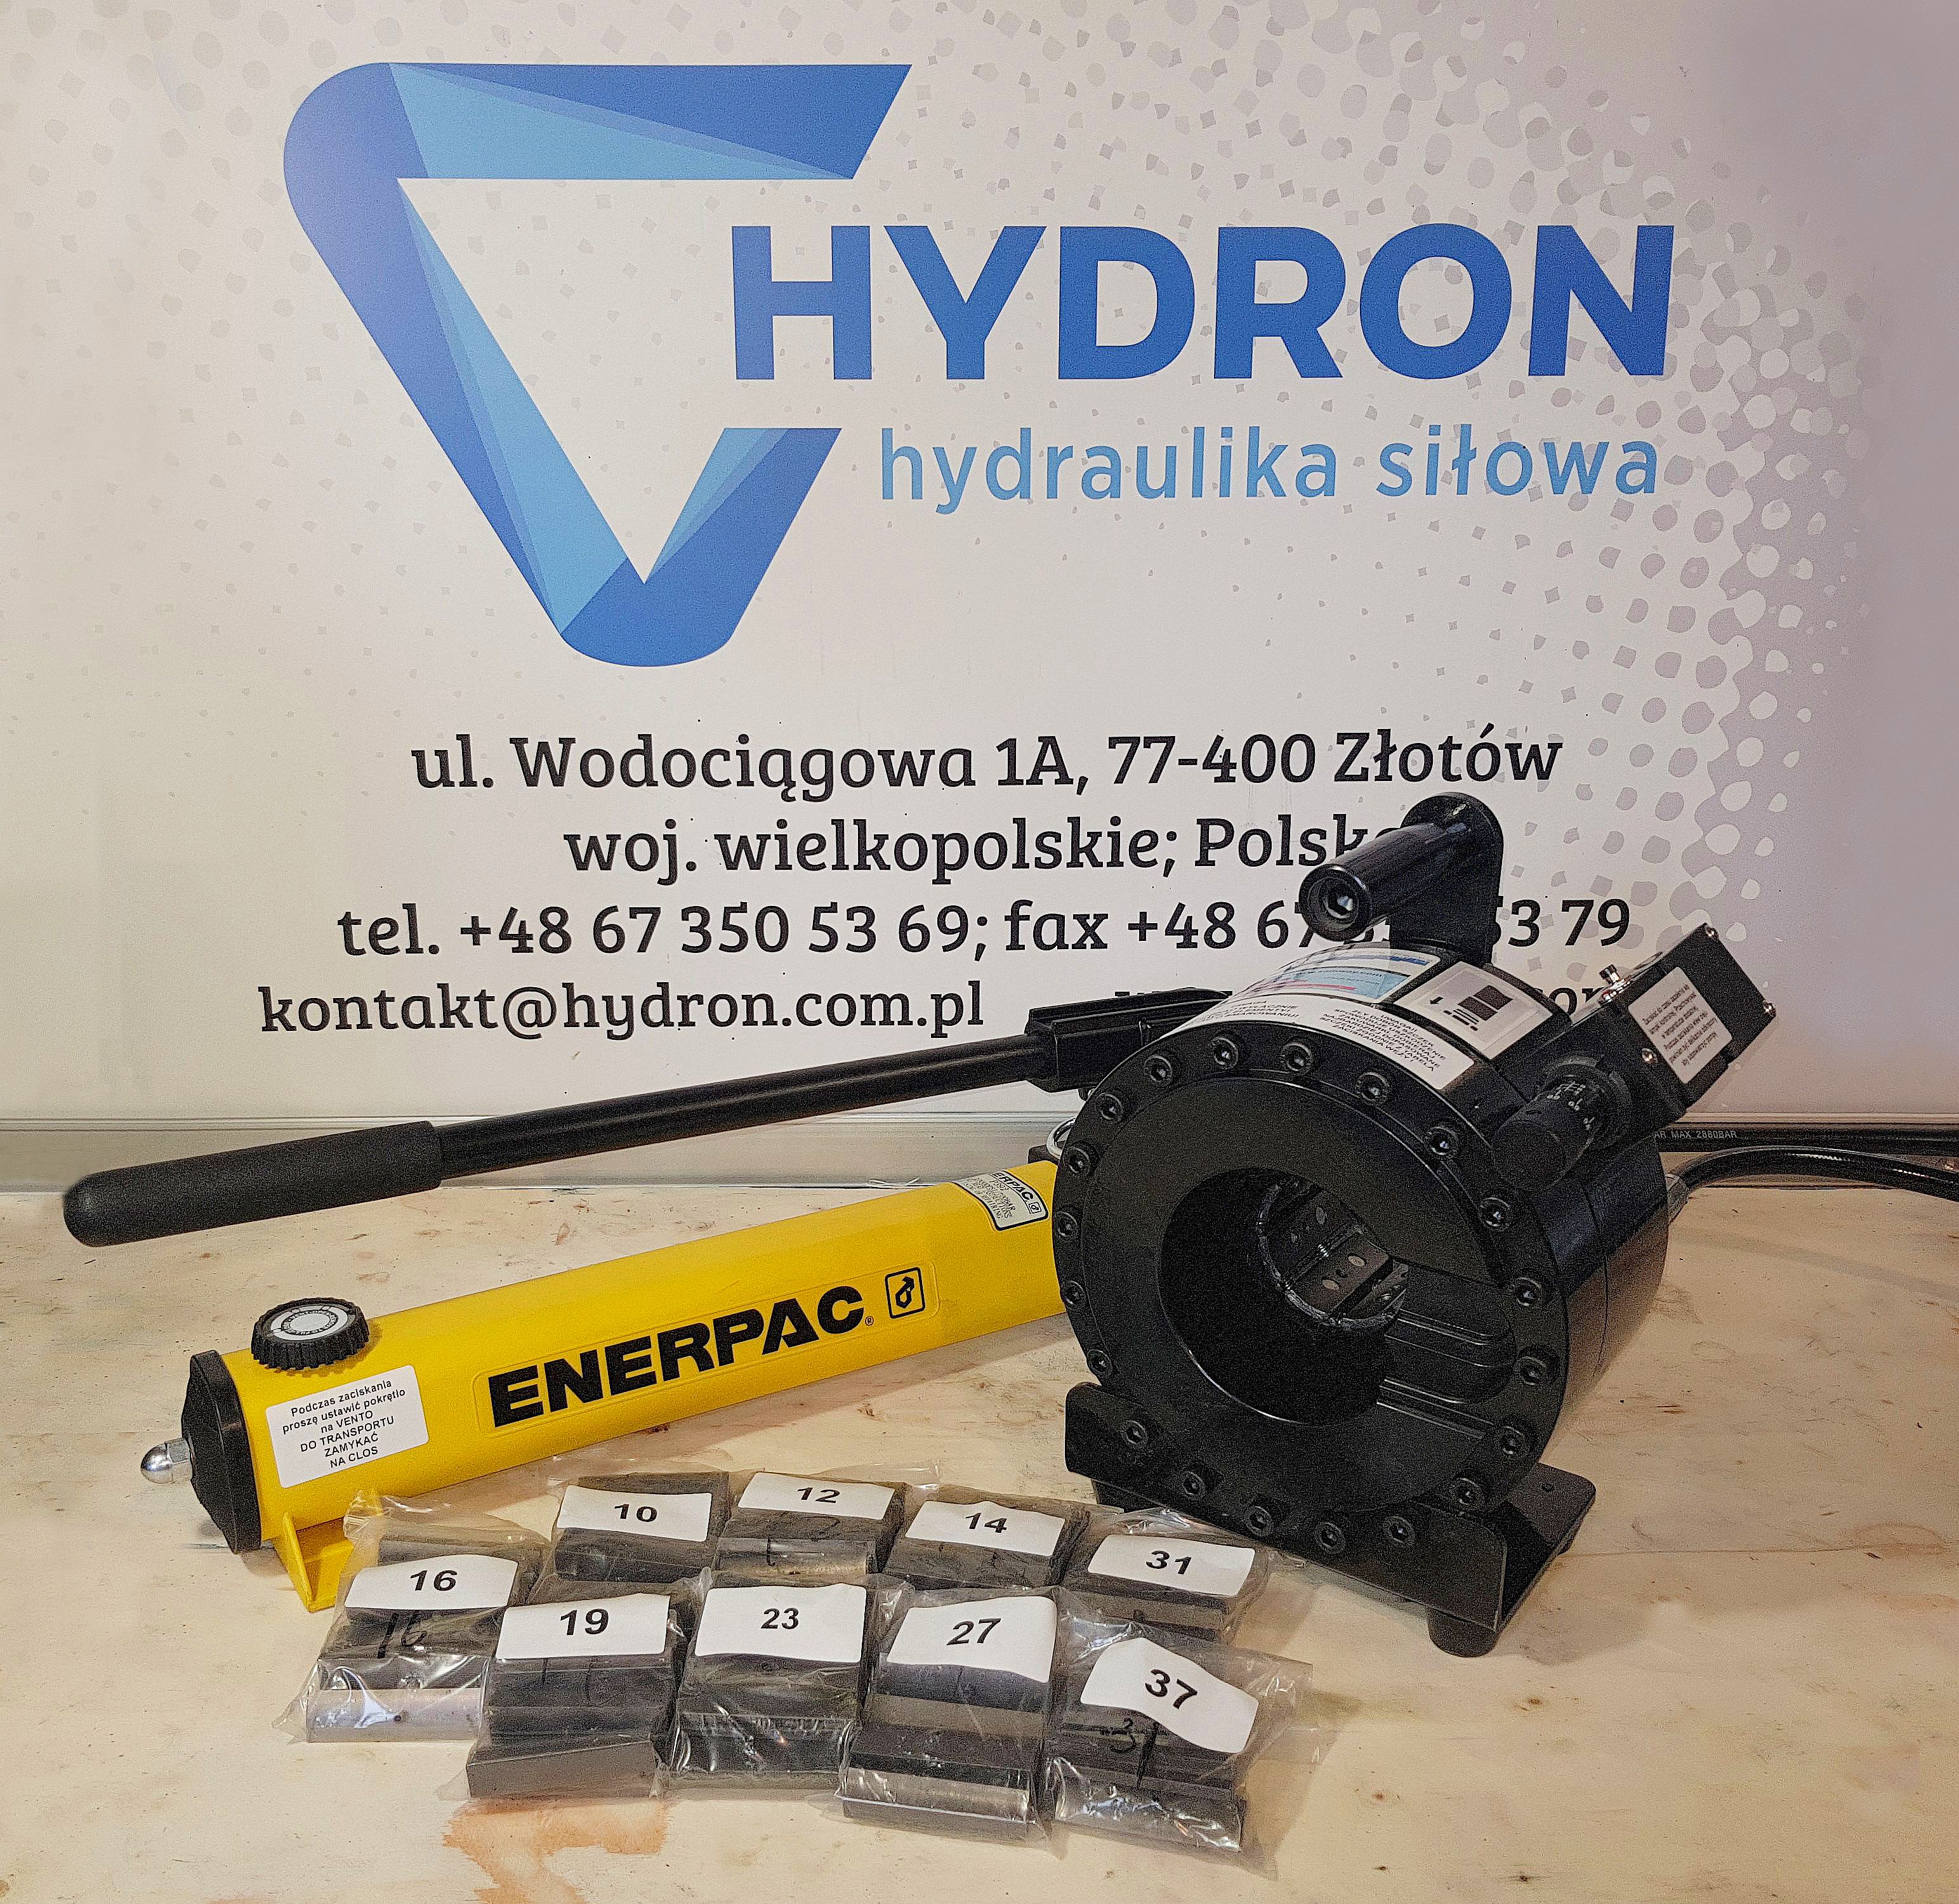
Installing and removing dies P18HP crimper
Tip: Select the dies closest in size to the hose being crimped. Example: DN10 mm 3/8 inch 2SN two-braid hose. Knowing the hose size and the number of steel braids, check the approximate crimping table for the value the hose should be crimped to. In this case, 20.6 mm. Then use the closest dies below the 20.6 mm value. In this case, these are die number 19.
P18 crimper micrometer setting
Tip: Before setting the desired value, make sure the micrometer is zeroed. I.e., whether the 0 on the dial aligns with the 0 on the handle. Remember not to turn the micrometer below the value of 0. This can damage it. The micrometer is set by turning the micrometer dial to the right.
Bleeding the pump in the P18HP crimper
Tip: During crimping, set the cap knob to the Vent position. For transport, turn the cap to the Close position. When unscrewing the pump with the wing nut, pay attention to whether oil is leaking from under the cap. If you notice a leak, tighten it gently. Try to ensure the system is completely bled after each use of the pump. You bleed the system by completely loosening the oil filler cap.
Hose crimping P18 crimper
Tip: During the first crimp, you must know what kind of hose it is. On the hoses there are parameter markings. If you cannot read the value on the hose, first measure the internal diameter of the hose with a caliper. Then visually determine how many steel windings, i.e., braids, it has inside. Next, select the appropriate ferrule and hose fitting. Then check the approximate crimping table for the dimension the hose should be crimped to.
EXAMPLE: DN 10 mm ( 3/8 inch) 2SN hose - two-braid hose. Knowing the hose parameters, we look in the approximate crimping table for the value to which the hose is to be crimped. In the case of a DN 10 2SN hose, we read the value of 20.6 mm in the table. Then we select the dies closest to the 20.6 mm parameter using the principle that the die size must be smaller than the 20.6 mm value. In this case, these are 19 mm dies. Next, using a simple mathematical operation, i.e., 20.6 mm - 19 mm = 1.6 mm. The difference after subtracting these values gives us the parameter to be set on the micrometer, which in this case is 1.6 mm. After fitting die number 19 and setting the value of 1.6 mm on the micrometer, we proceed to crimp the hose. Remember to crimp the ferrule on the hose twice. During the first crimp, a ridge is formed on the ferrule, which we must eliminate by a subsequent crimp. This is done by rotating the ferrule on the hose so that the dies press down on the ridge formed at that spot.