










back to : SAMWAY P20AP pneumatic crimping machine
Pneumatic crimping machine user manual SAMWAY P20AP
Crimping a hose on the P20AP crimper step by step - operating a pneumatic crimping machine.
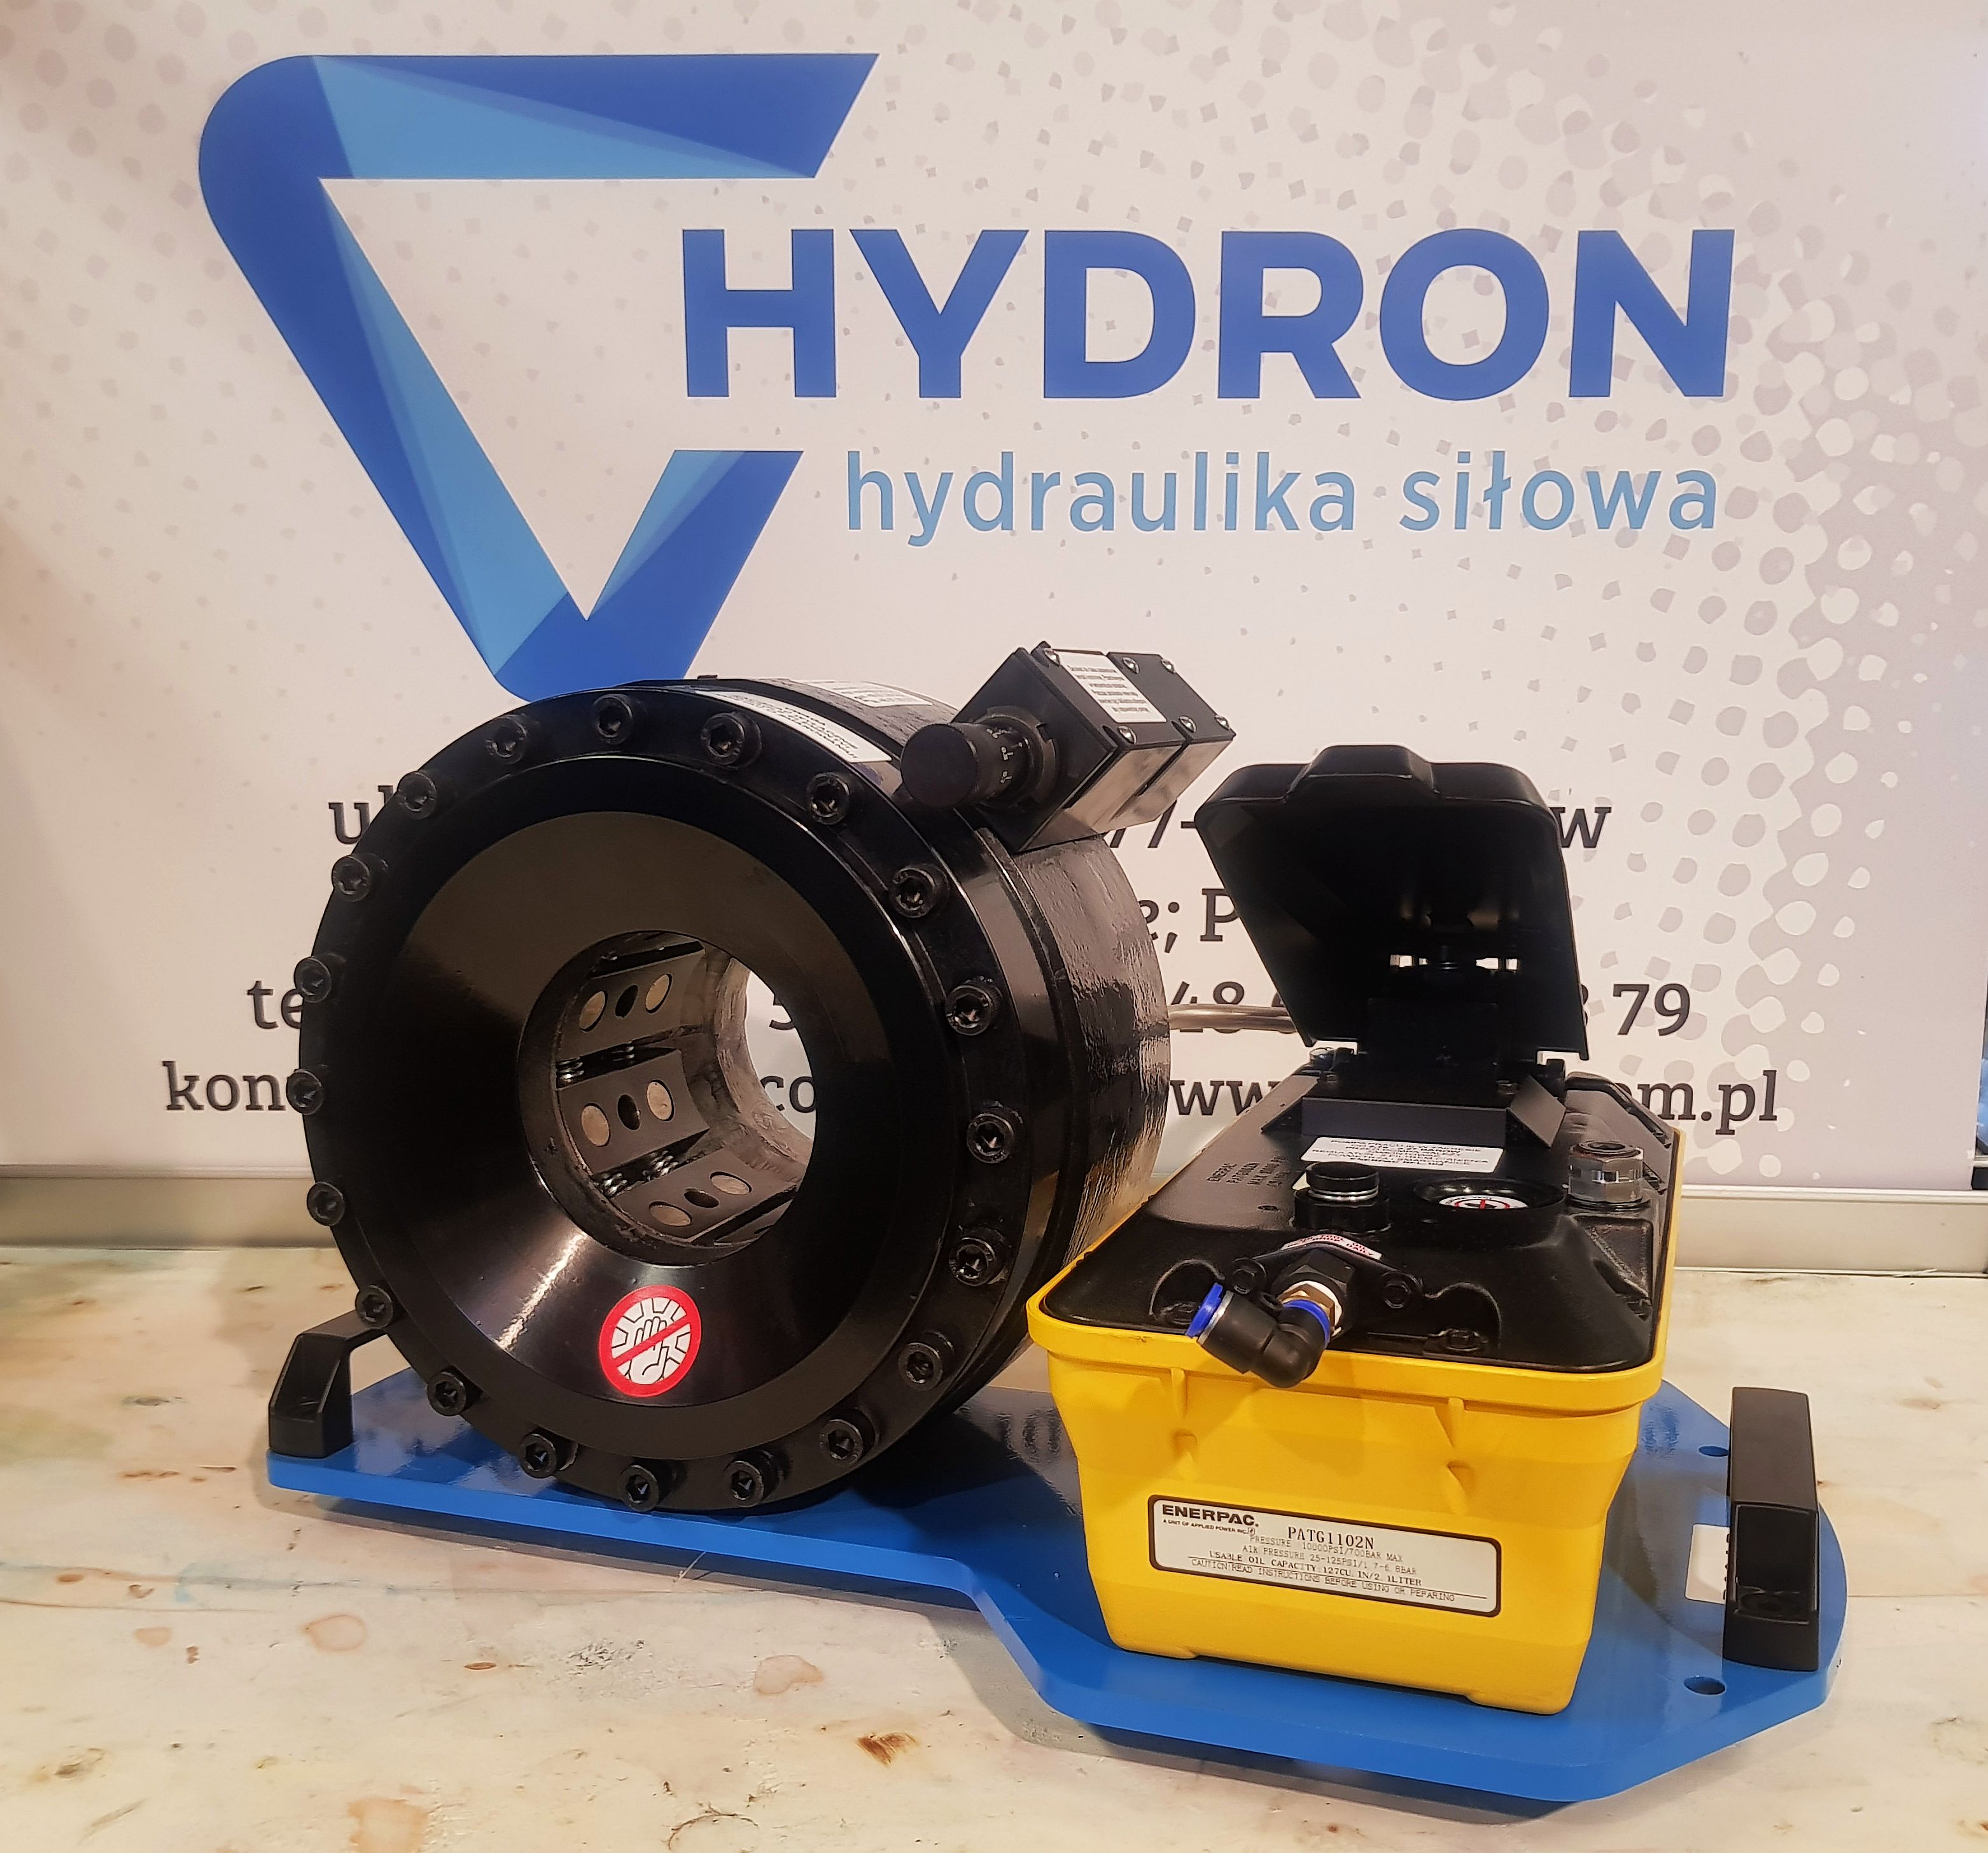
Installing and removing dies P20AP crimper
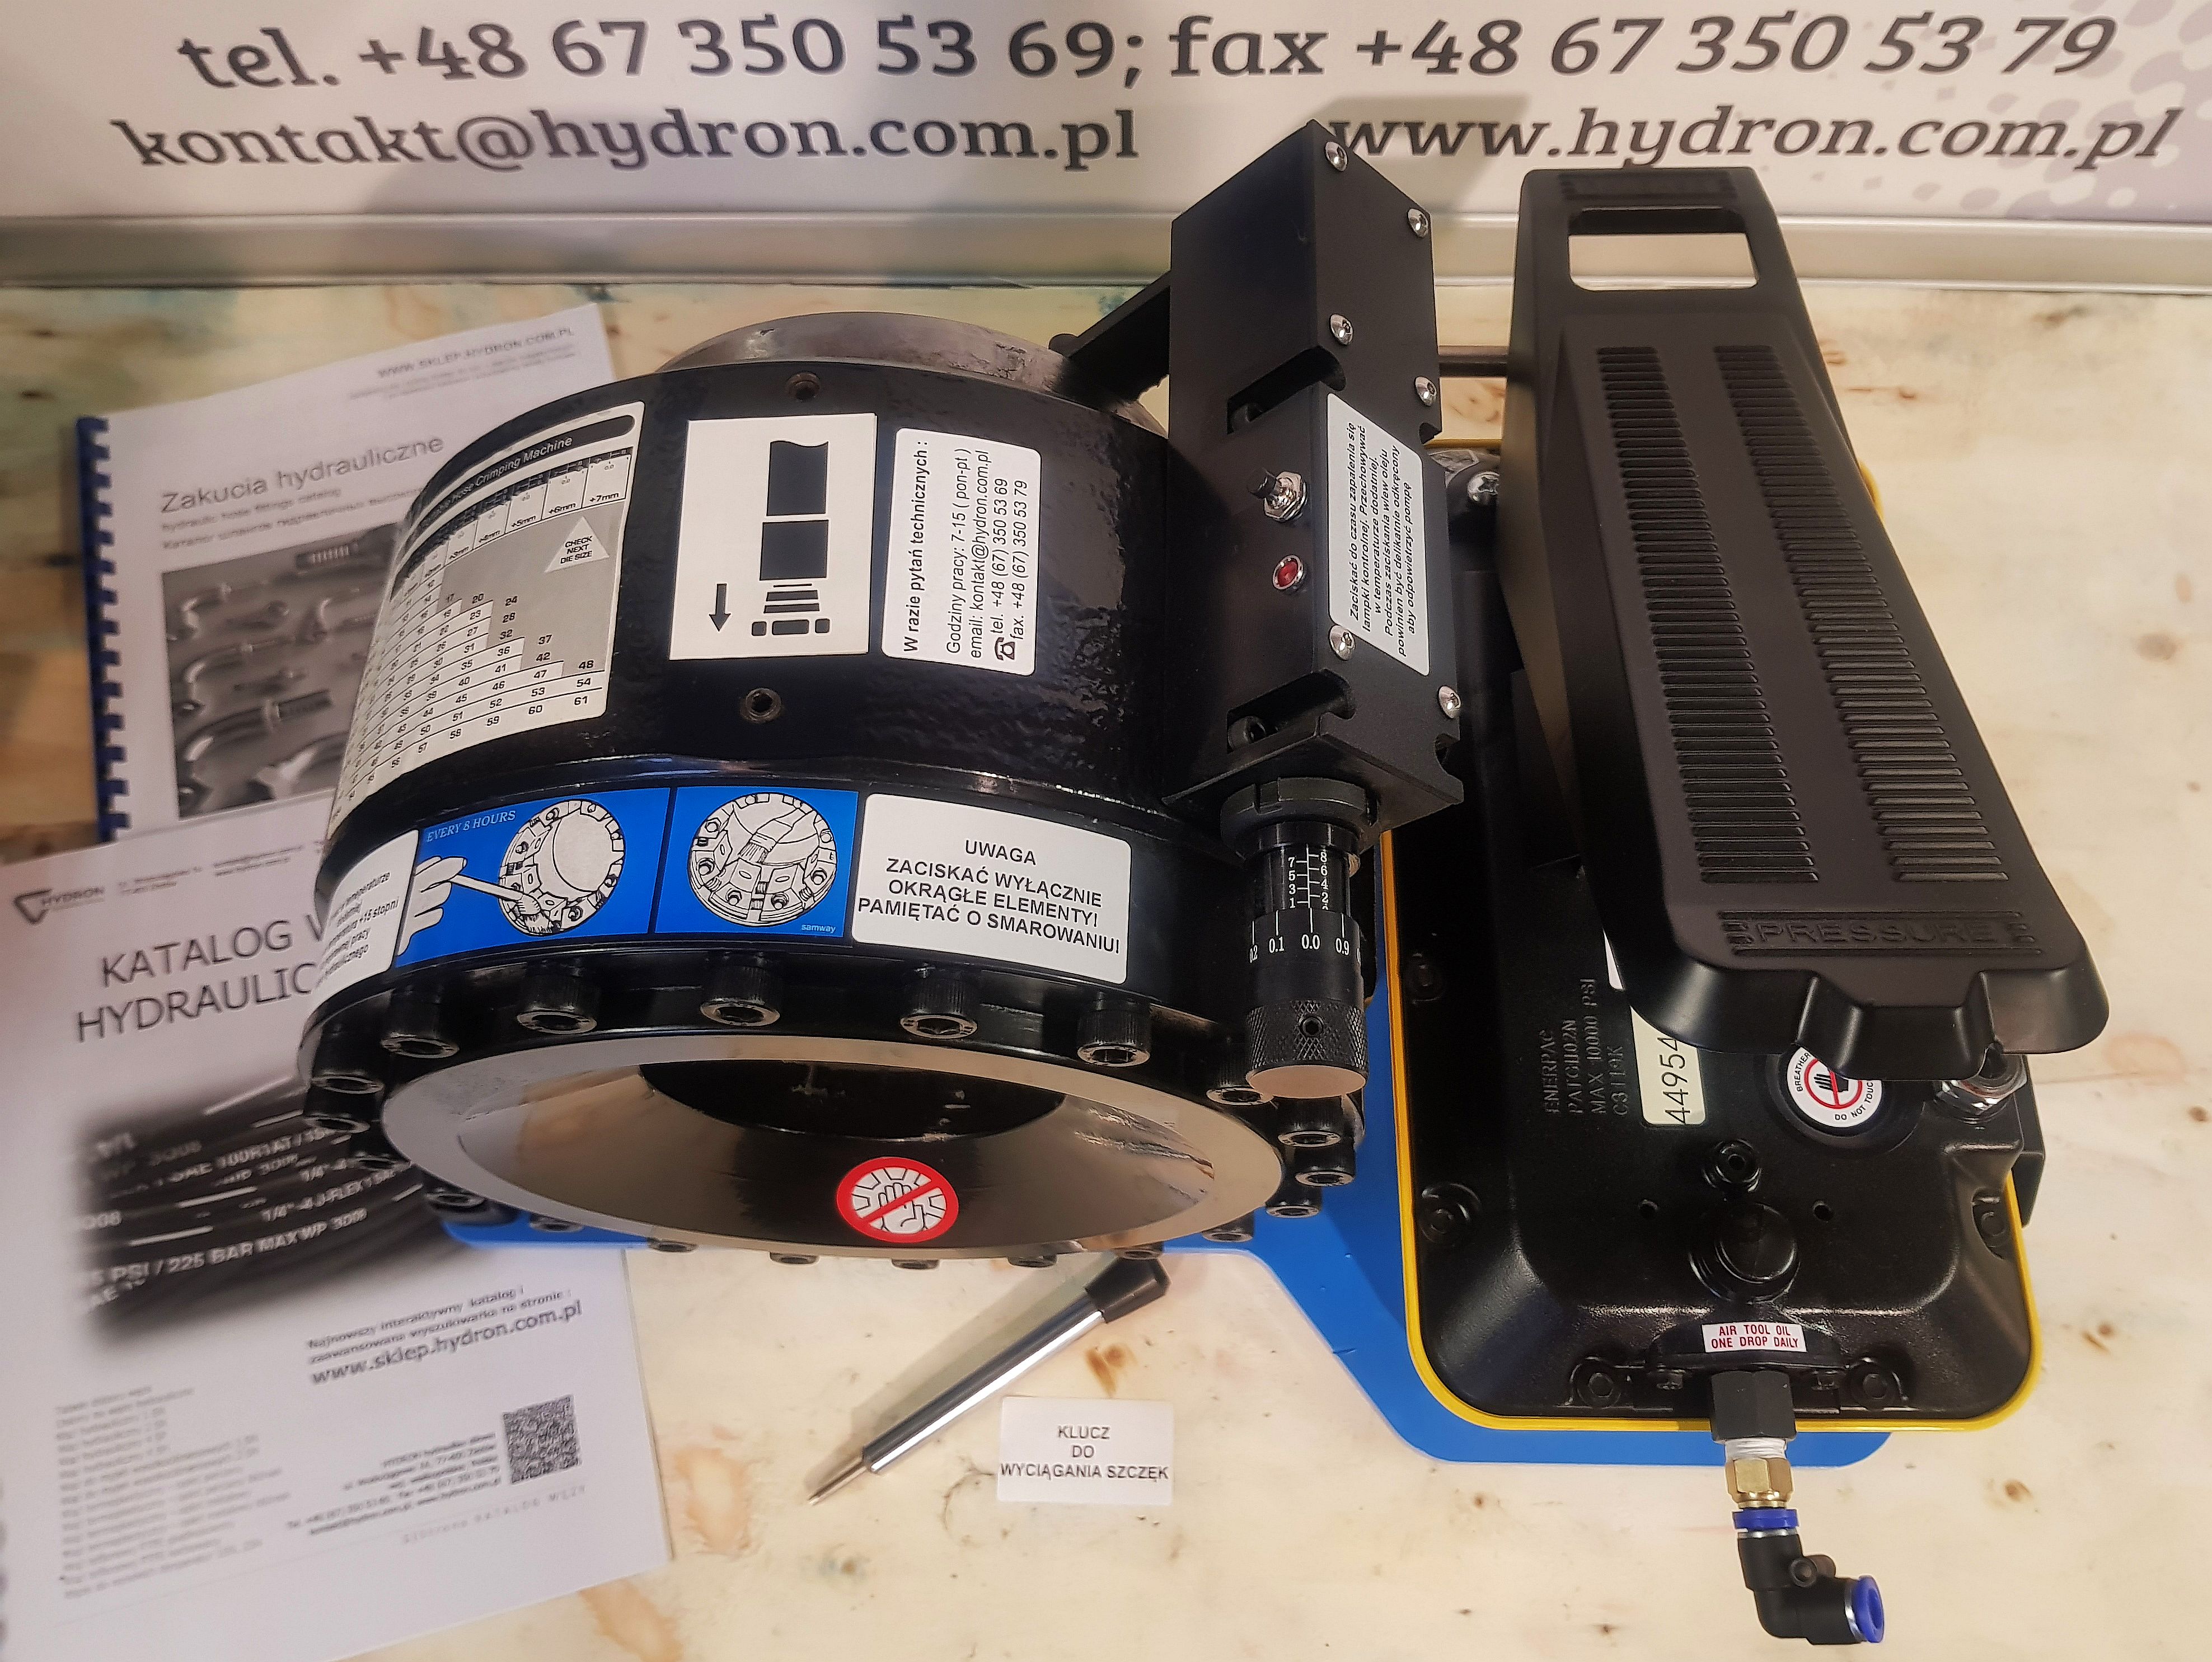
Micrometer setting P20AP crimper
Tip: When using the micrometer knob, try above all not to turn the micrometer below the zero value. Blow out the area around the knob with compressed air to remove accumulated debris. Keeping the micrometer clean prevents its failure.
Crimping a hose P20AP crimper
Tip: During the first crimp, you must know what kind of hose it is. Hoses have markings of their parameters. If you cannot read the values on the hose, first measure the inner diameter of the hose using a caliper. Then, visually determine how many steel windings, so-called braids, it has inside. Next, select the appropriate ferrule and hose fitting. Then check the approximate crimping table to see what size the hose should be crimped to.
Example: DN 10 mm ( 3/8 inch) 2SN hose - double-braid hose. Knowing the hose parameters, we look in the approximate crimping table for the value to which we should crimp the hose. For a DN 10 2SN hose, we read the value 20.6 mm in the table. Then we select the dies closest to the 20.6 mm parameter, following the rule that the die size must be smaller than the value of 20.6 mm. In this case, these are 19 mm dies. Then, using a simple mathematical operation, i.e., 20.6 mm - 19 mm = 1.6 mm. The difference after subtracting these values gives us the parameter we should set on the micrometer, which in this case is 1.6 mm. After installing dies number 19 and setting the value of 1.6 mm on the micrometer, we proceed to crimp the hose. Remember to crimp the ferrule on the hose twice. During the first crimp, a ridge forms on the ferrule, which we must eliminate by a subsequent crimp. We do this by rotating the ferrule on the hose so that the dies press down on the ridge that has formed.
Bleeding the P20AP crimper pump
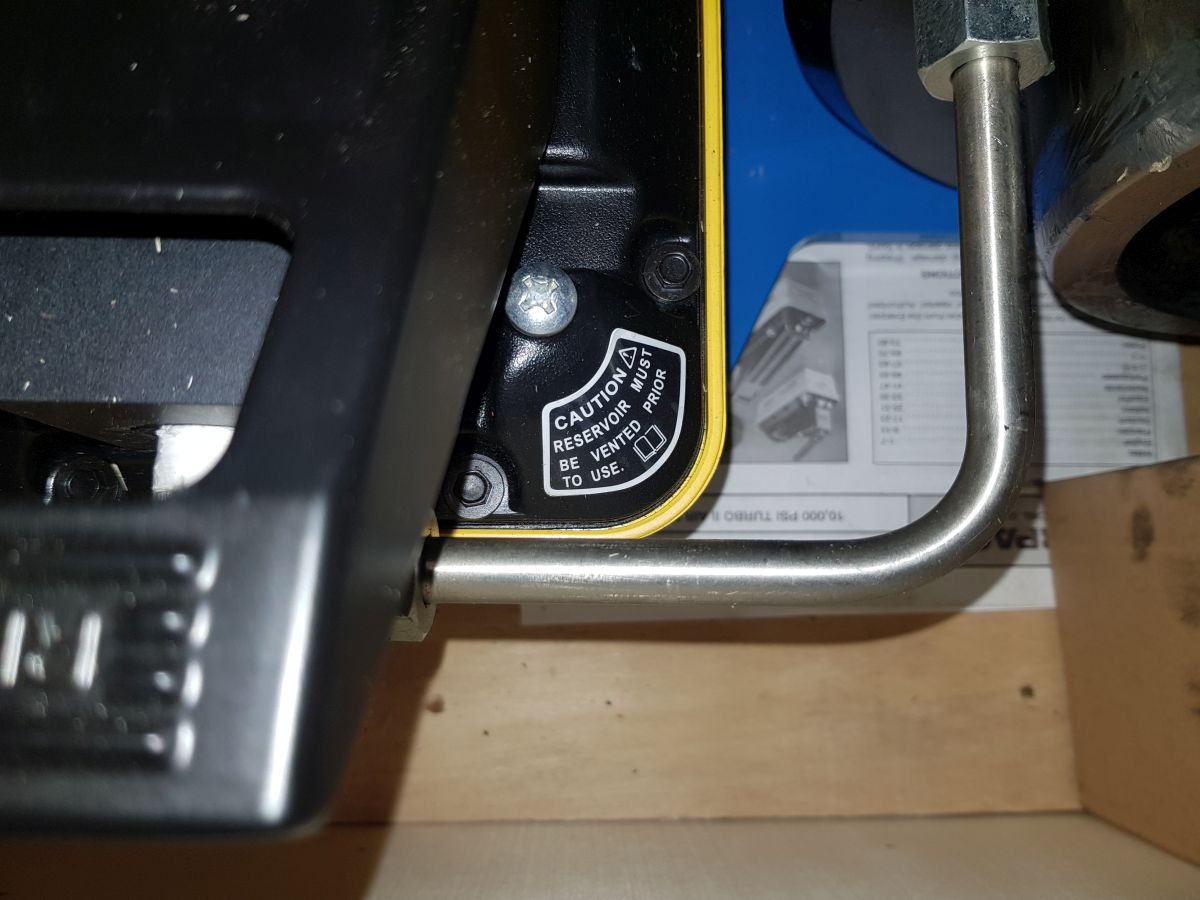
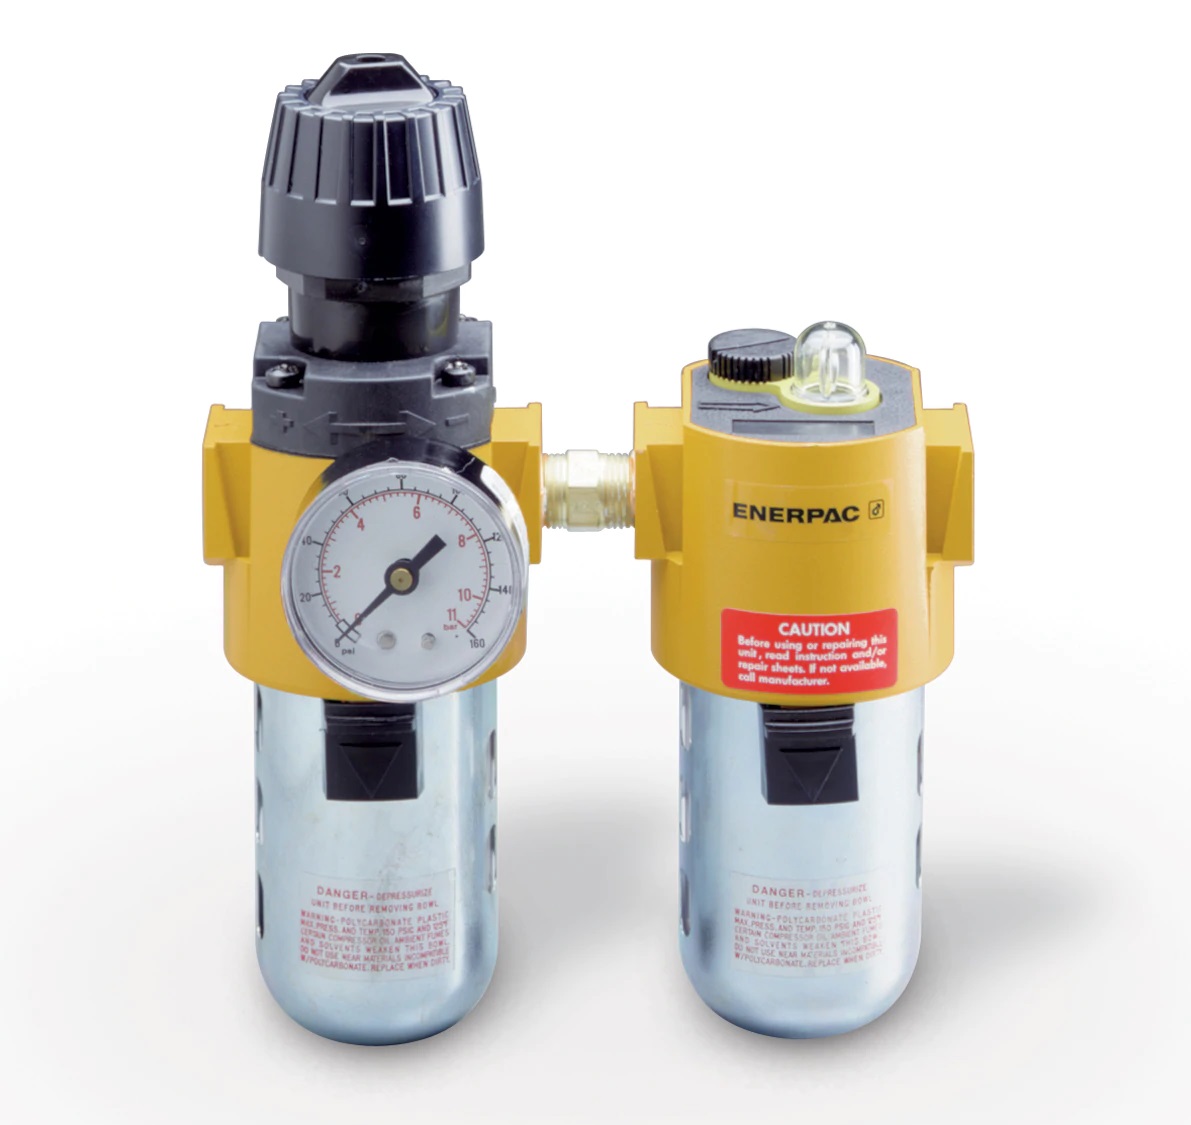
Tip: Bleed the pneumatic crimper before crimping the hose. Locate the screw on the oil reservoir that is turned with a Phillips screwdriver. There is an inscription there: " CAUTION RESERVOIR MUST BE VENTED PRIOR TO USE". This inscription informs: Attention: The reservoir must be vented before use. Very important: the pump operates in the range of 2.76 - 8.27 bar. The manufacturer recommends installing an ENERPAC RFL-102 air pressure regulator and lubricator. The main cause of oil reservoir leakage is a faulty compressor that delivers too much pressure or cannot maintain constant pressure. In such a case, oil leakage may occur from under the reservoir gasket or the head release plug.
Hose crimping - general information about the P20AP crimper
Check also : hydraulic hose crimping manual ( extended )