










back to : SAMWAY S51 hose crimping machine
User manual for the SAMWAY S51 hose crimping press
S51 crimper - note: old version of the crimper shown in the videos !
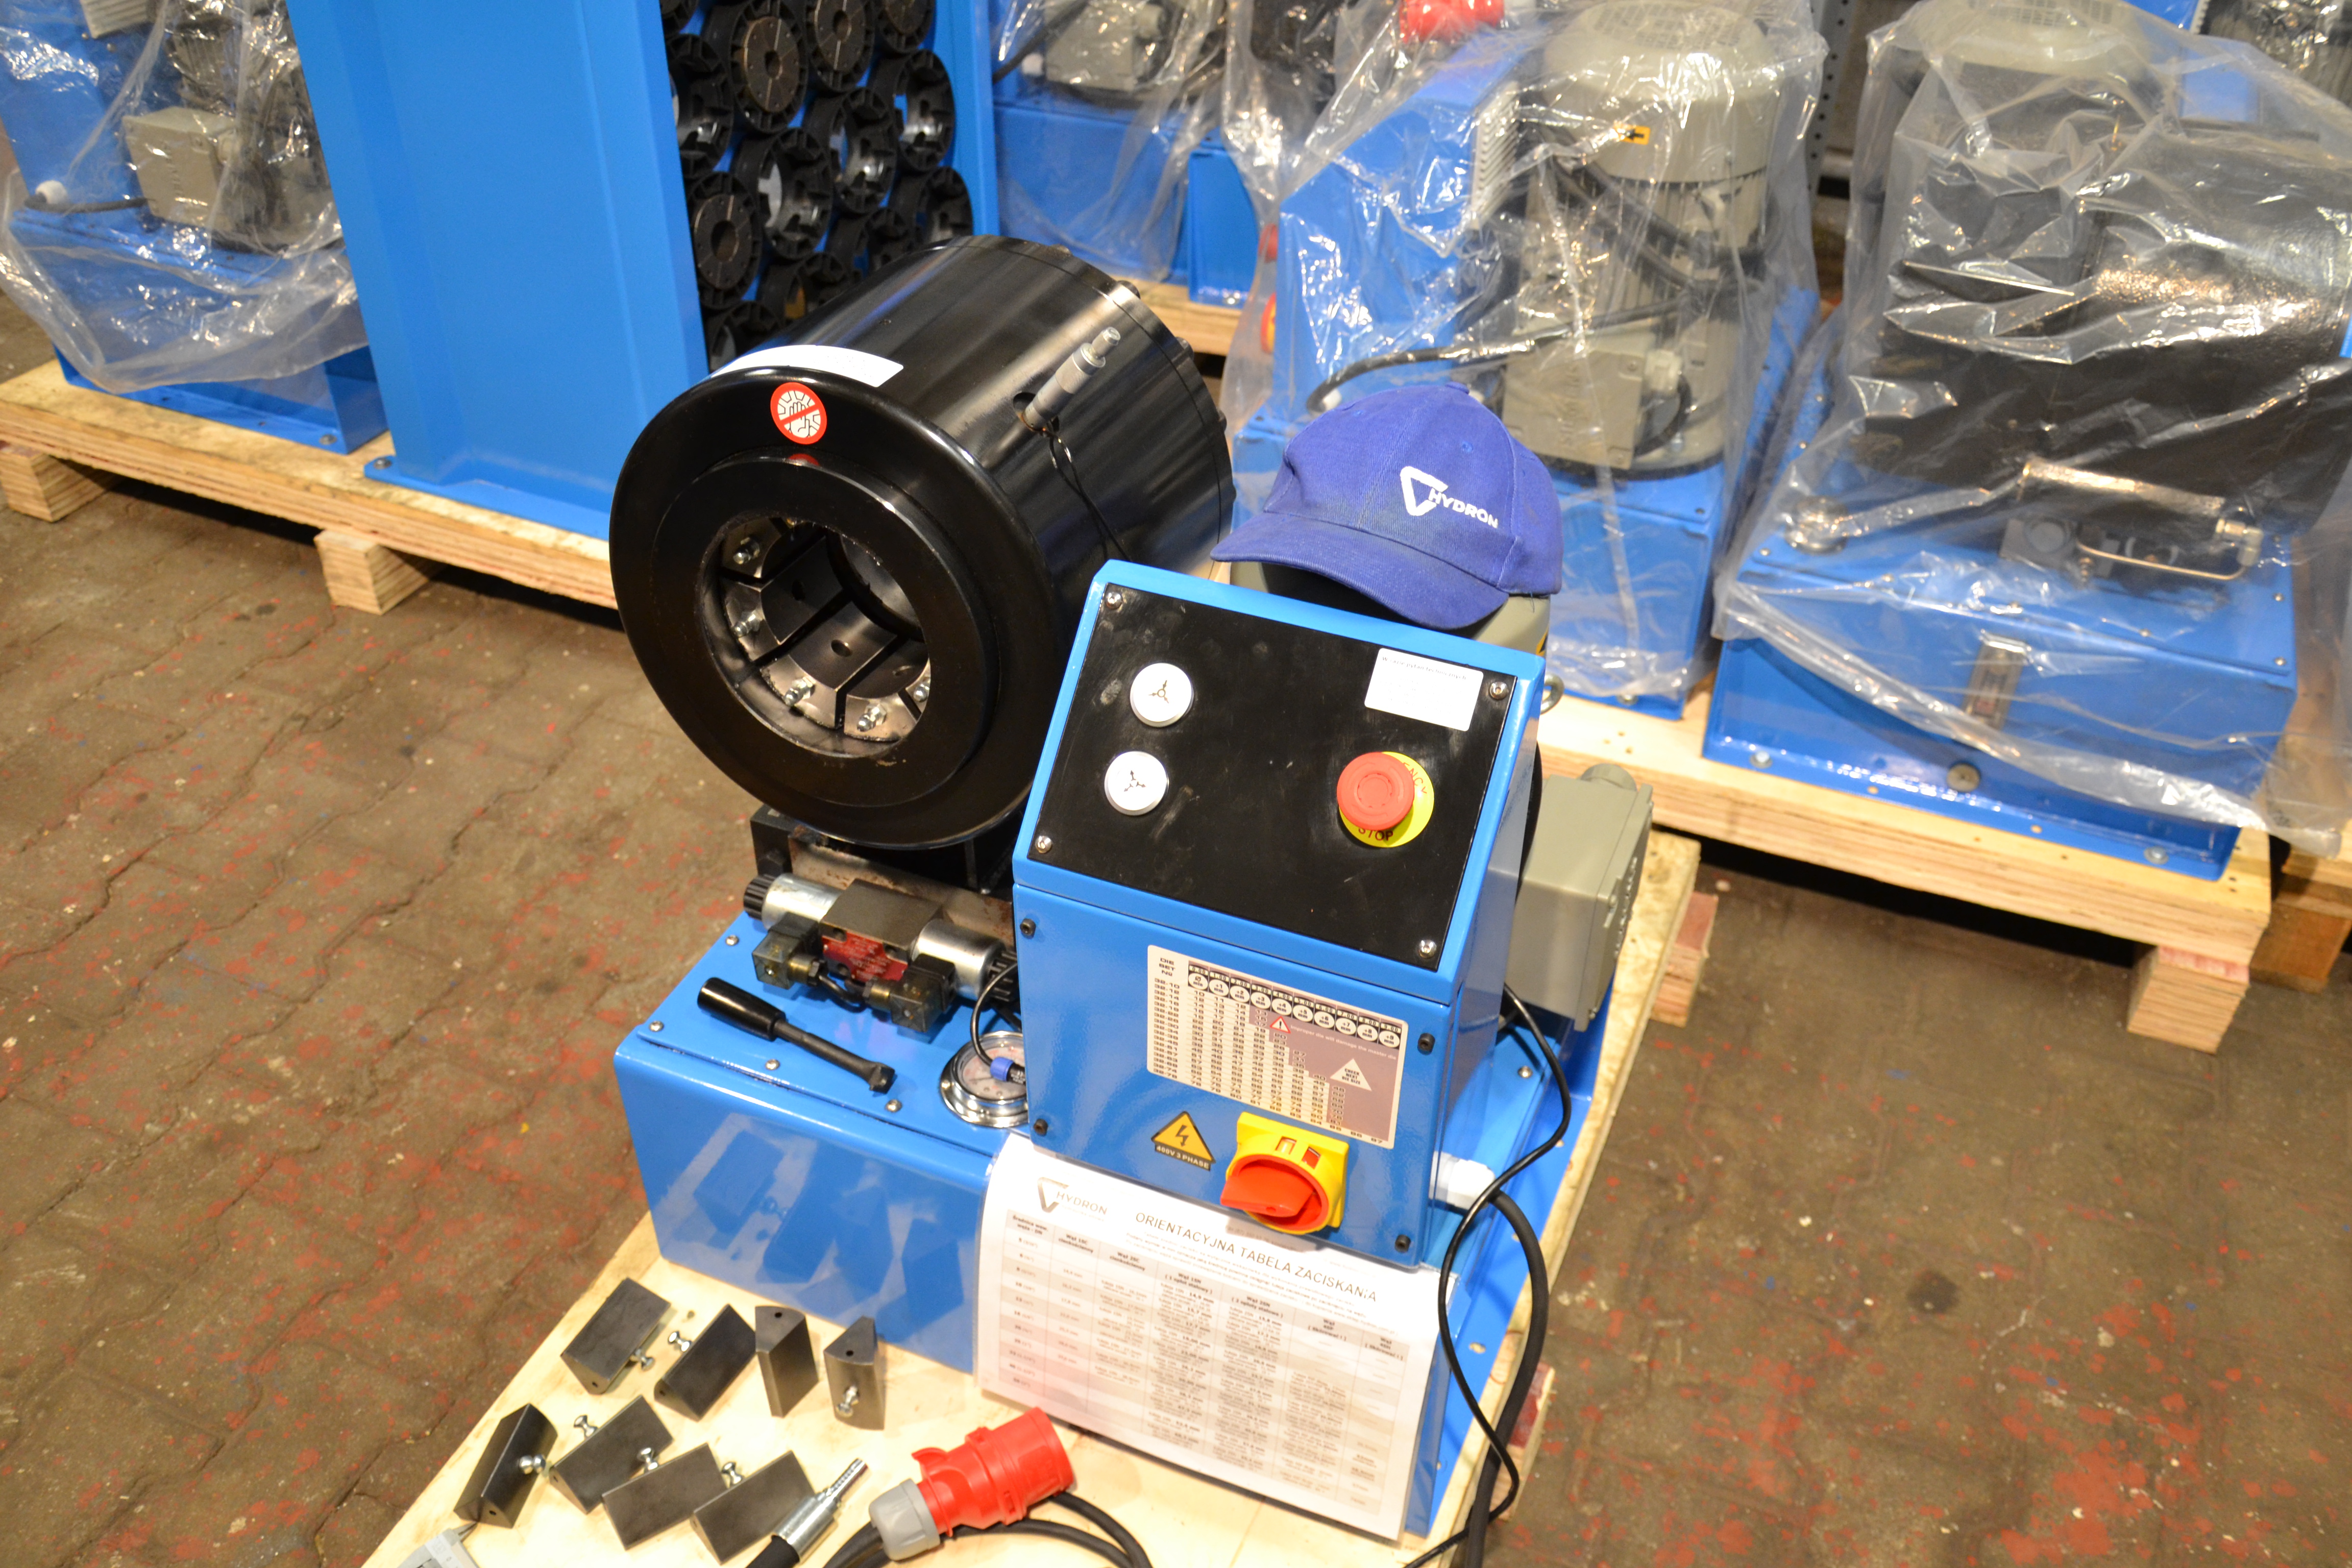
After connecting the machine to the power source with a 16A-6h plug (5-pin round plug), check the motor's rotation direction.
Checking the hose crimping diameter
Tip: Crimping a DN10 2SN hose with the S51 crimper. During the first crimp, you must know what kind of hose it is. Hoses are marked with their parameters. If you cannot read the values on the hose, first measure the inner diameter of the hose with a caliper. Then visually determine the number of steel reinforcements inside, the so-called braids. Next, select the appropriate ferrule and fitting for the hose. Then, check the indicative crimping chart for the required crimping dimension. Example: DN 10 mm ( 3/8 inch) 2SN hose - two-braid hose. Knowing the hose parameters, look for the crimping value in the indicative chart. For a DN 10 2SN hose, the chart value is 20,6 mm.
Selecting the appropriate crimping dies
Next, choose the dies closest to the 20,6 mm parameter, following the rule that the die size must be smaller than the 20,6 mm value. In this case, these are 19 mm dies. Then, use a simple mathematical operation: 20,6 mm - 19 mm = 1,6 mm. The difference after subtracting these values gives us the parameter to be set on the micrometer, which in this case is 1,6 mm. After fitting the number 19 dies, proceed to set the 1,6 mm value on the micrometer. Use the micrometer dial to set the desired value. The micrometer should be zeroed before setting. Zeroing involves positioning the dial so that the digit 0 aligns with the digit 0. By turning the micrometer dial to the right, set it to 1,6 mm and proceed with crimping the hose. Remember to crimp the ferrule on the hose twice. During the first crimp, a ridge forms on the ferrule, which must be eliminated by a subsequent crimp. This is done by rotating the ferrule on the hose so that the dies press down on the ridge formed at that spot.
Setting the micrometer:
Two full rotations of the micrometer dial equal a value of 1. The micrometer is located at the top of the head.
Installing dies in the S51 crimper
Removing dies from the S51 crimper
Tip:
In the S51 crimper, dies are removed and seated using a tool. Each type of die has its number stamped on it. The die is seated using the tool ,which is placed on the pin in the master dies. After pulling back - releasing the pin, the die is seated in the hole without any resistance. Once the tool is removed, the pin in the die being used snaps into the master die lock.