






back to : SAMWAY P20Q crimping machine
User manual for SAMWAY P20Q crimping machine
Hose crimping
First crimp step by step
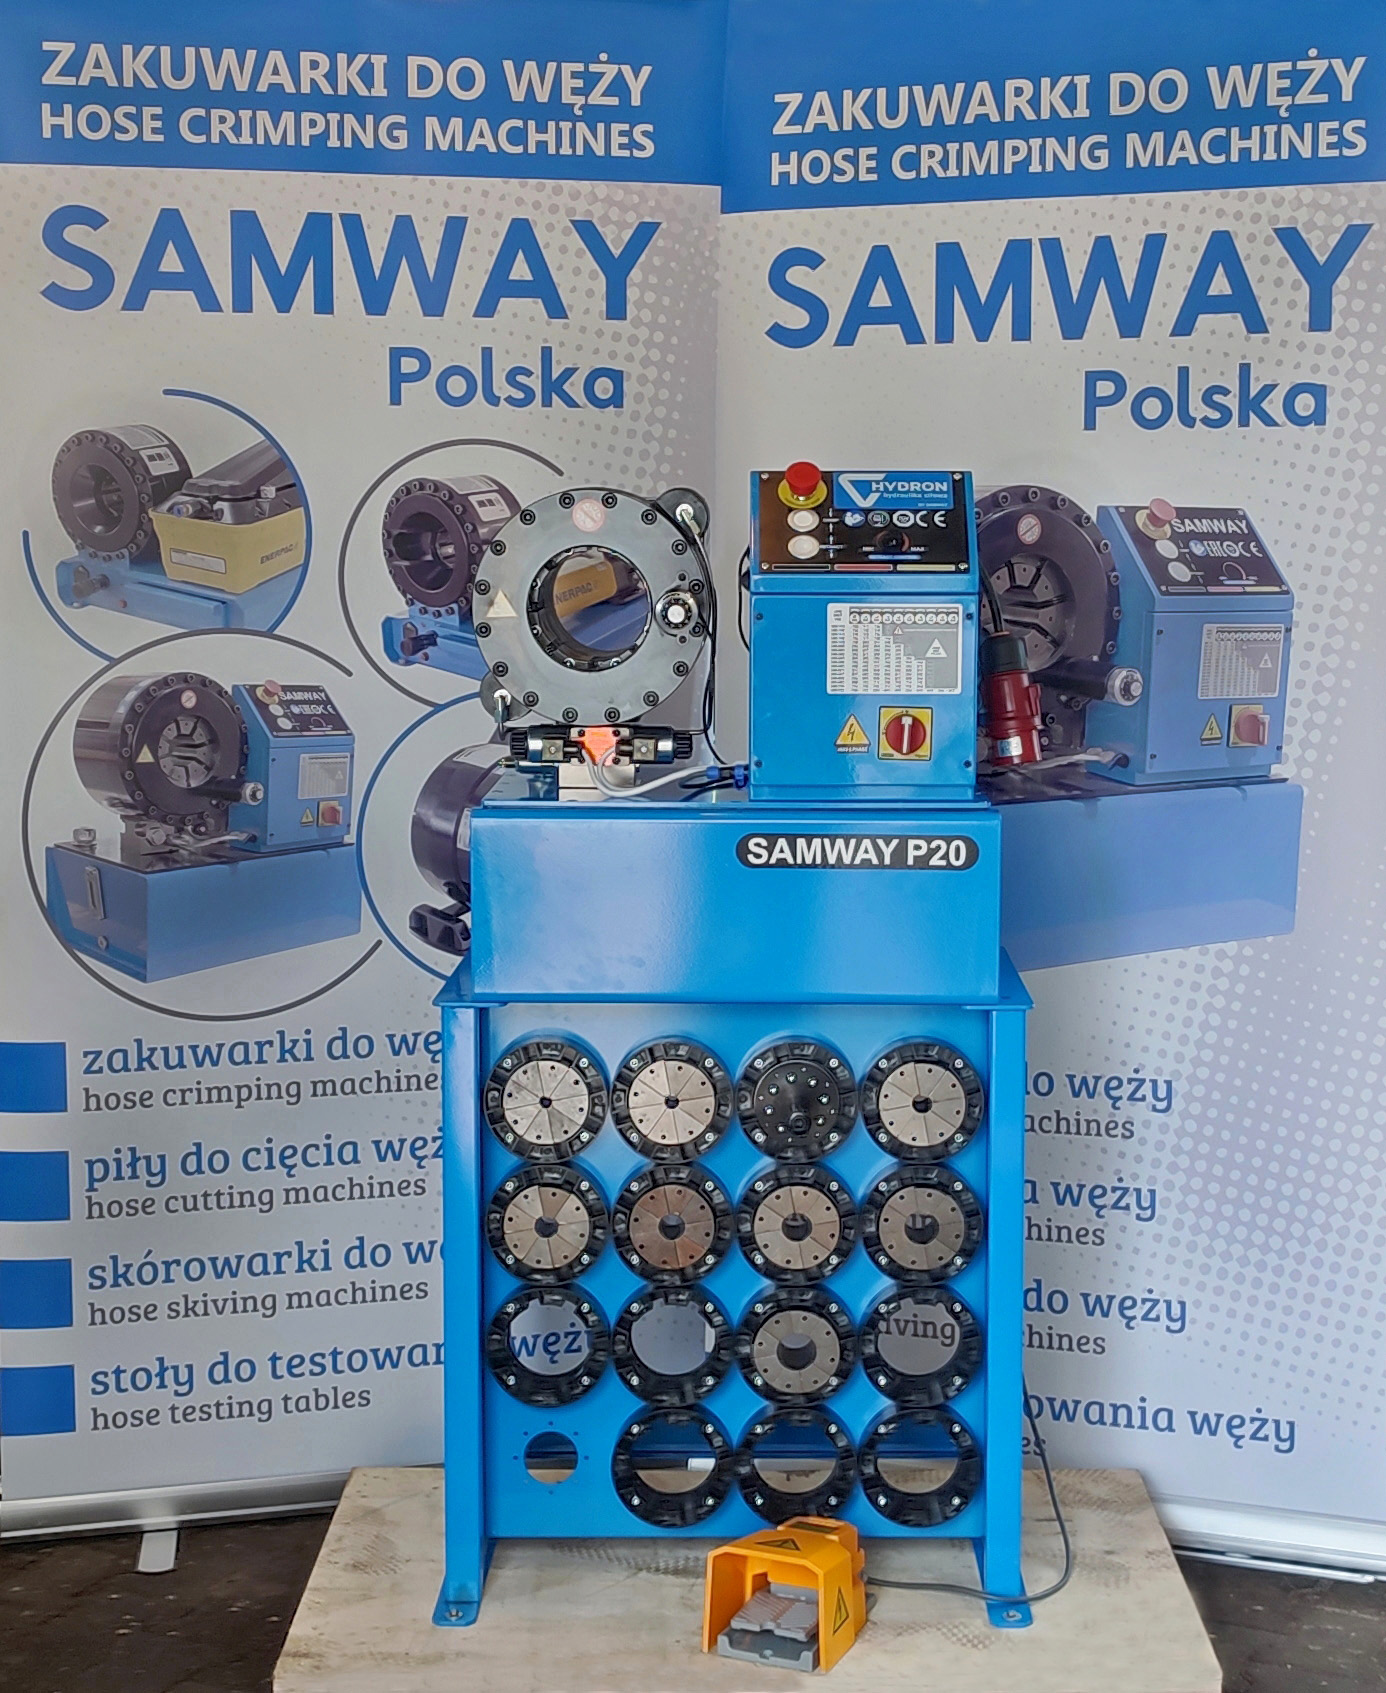
After connecting the crimper to a power source (5-pin 16A plug - 3-phase power), start the machine using the red switch. Important: the motor rotor rotation must be clockwise for the correct operation of the oil suction pump. In the case of counter-clockwise rotation, the phases inside the plug must be swapped. Underneath the machine, there is a table in which the dies are set. In the P20Q model, we have the following sizes of crimping dies : 14,16,19,22,26,30,34,39,45. The provided die dimensions specify their internal diameter size after crimping. In the presented instructional video, a DN6 1SN hose was used (hose internal diameter 6 mm - single-braid hose.
Die selection
In order to correctly select the dies, check the CRIMPING REFERENCE CHART for the diameter to which the hose is to be crimped. In the vertical column, we have the internal hose diameters starting from 5 mm 3/16 inch up to 50 mm 2 inches. The horizontal part of the chart presents the hose types starting from thin-walled hoses and ending with 4-braid hoses. When choosing the appropriate dies for the crimped hose, we follow the rule: LOOK FOR THE DIE SIZE CLOSEST TO THE CRIMPING DIAMETER ACCORDING TO THE CRIMPING REFERENCE CHART. The dies used must always be smaller than the parameter specified in the crimping reference chart. In the case of a DN6 1SN hose, the crimp according to the chart is 15.7 mm. Therefore, we use die number 14 because the next ones are size 16 and are too large. Next, set the desired value using the micrometer. Remember, when installing any dies, the micrometer must be zeroed. By turning the micrometer knob clockwise, set the value to 1.70 mm. ( die size 14 + 1.7 = 15.7 mm). Next, insert the hose with the ferrule containing the fitting and proceed to the first crimp. When positioning the hose for crimping, remember that the ferrule should be slightly recessed in the dies you are crimping with. By pressing the die closing button, we crimp the ferrule. After the first crimp, a ridge will appear, which should be eliminated by crimping again. Finally, zero the micrometer using the knob. Then, crimp the dies to the very end. Insert the quick-change tool. Open the dies using the button and remove them from the inside.
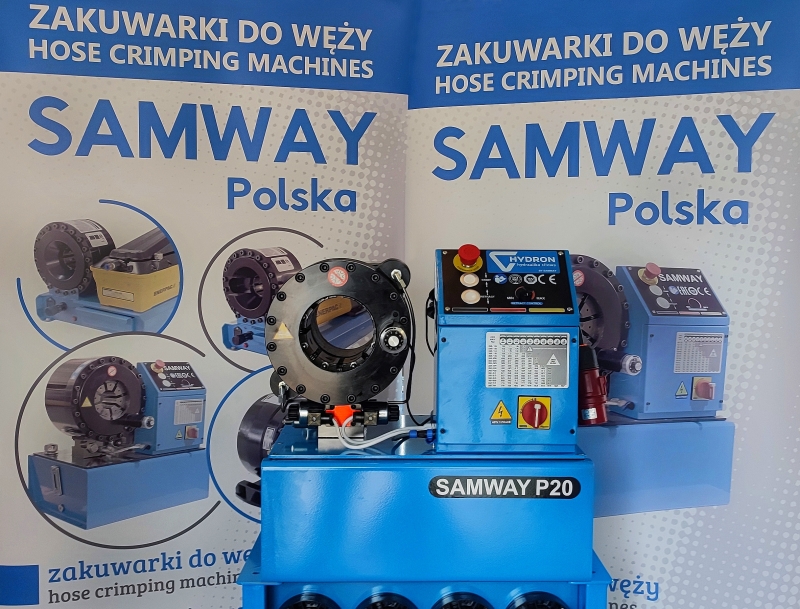
SAMWAY P20Q crimping machine